Monday, January 01, 2024

Welcome 2024!

EDIT: Jan 7, 2024
Congratulations to the winner - Purple Butterfly Paper

ORIGINAL POST
__________________________________________________

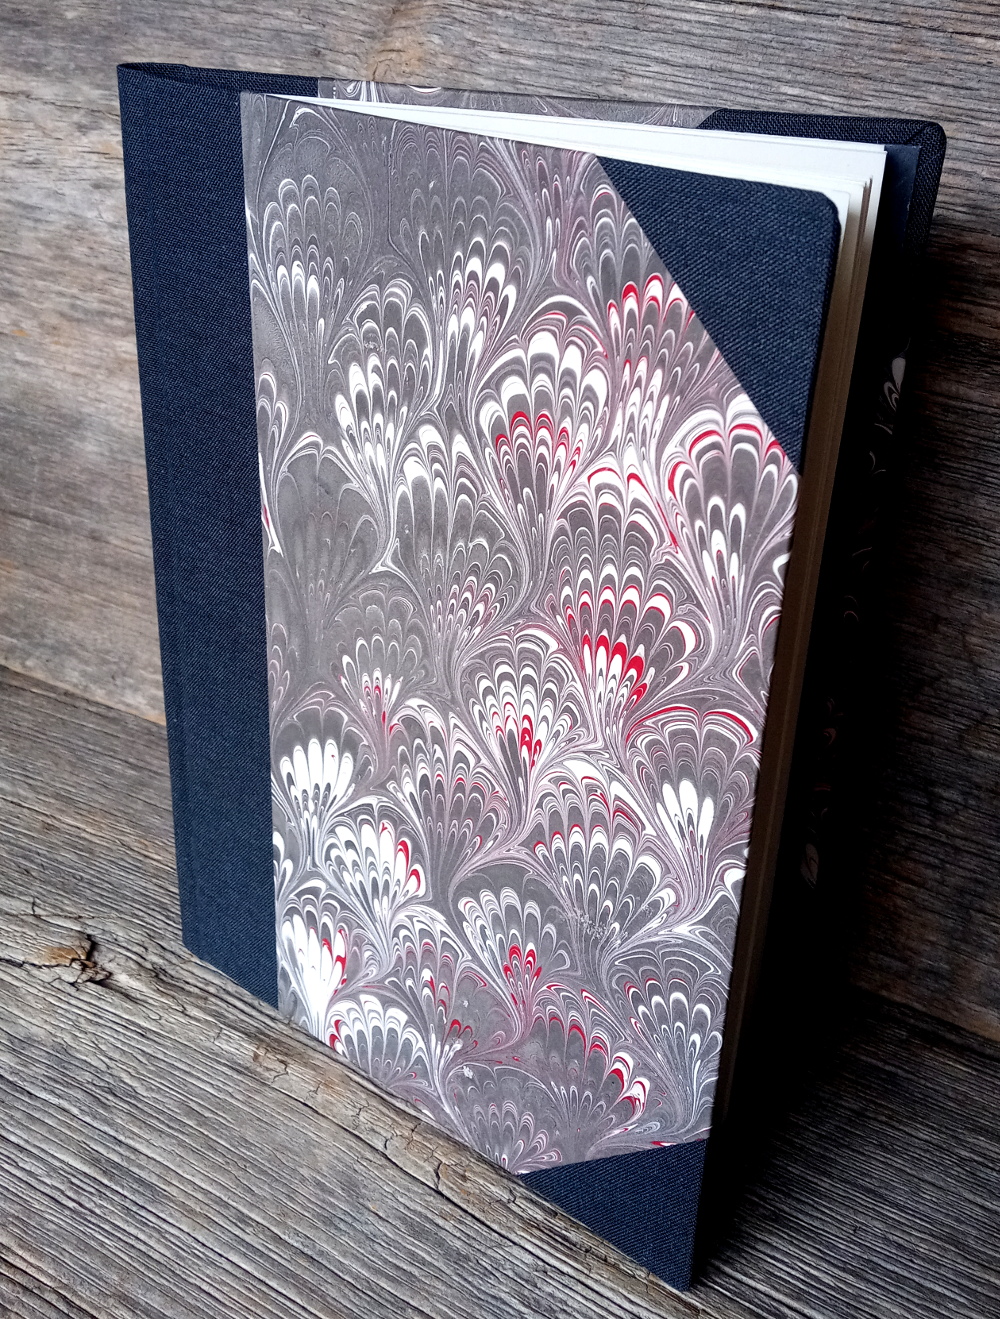
Happy new year, everybody! I'm going to kick off the year with a giveaway, as I've often done in the past, perfect for those of you who still like to write in real books. I have one handmade book to give away and it is a 2024 monthly planner, shown below.

It is a hardcover book with my own original marbled paper on the covers. The spine and corners are dark grey cloth. The book contains a printed monthly calendar for 2024. In addition to the calendar pages, there are also standard pages for personal information, lists, and some blank pages at the back. The various preprinted text is in both English and Chinese. There is a flyleaf of handmade paper, which happens to be a sheet of paper that I made myself. There is also a pocket inside the back cover for tucking in whatever loose things you need to save throughout the year. It is 15cm wide and 21cm tall (6" X 8.25").

To get your name included in the draw, leave a comment on this post before 11:59 PM (Atlantic Time) January 6, 2024 and include your email or a profile link that will allow me to contact you if you win. Also, tell me something interesting: maybe your new year's resolution, or perhaps a book recommendation for my reading list, or tell me some obscure fact that you happen to know! You can get a second entry if you also leave a comment on the associated Instagram post.

After the deadline, I will number all the entries and use a random number generator to select a winner. Then I'll contact you and let you know. I will ship the book, for free, anywhere in North America.
2024 Monthly Planner
Handmade book giveaway
2024 Calendar Giveaway

Sunday, December 24, 2023

Wrapping up 2023 with little boxes

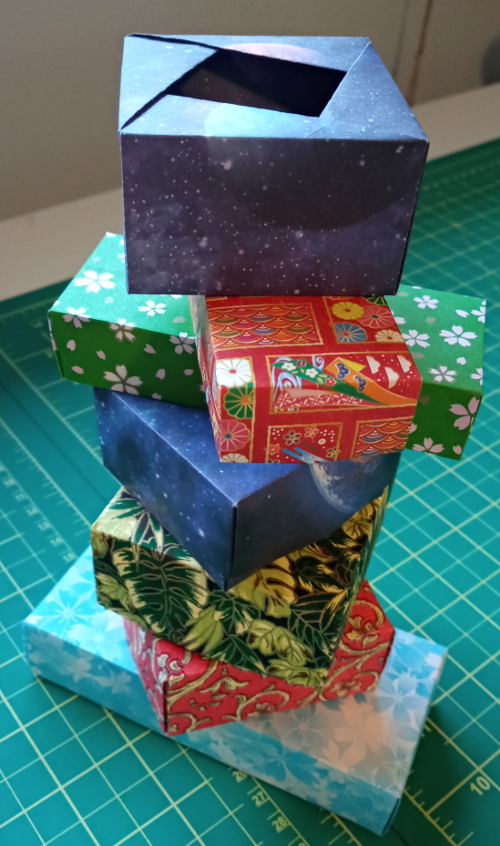
Stack of origami boxesMerry Christmas, happy holidays, season's greetings, happy solstice, lovely day! Take your pick!

I tried one final little project for the end of the year, involving folding pretty paper to make little boxes. I tried a variety of origami box structures looking for one that might work for packing up some little books. I had two main requirements for the boxes. Firstly, the miniature books needed to fit in the box, and secondly, I wanted the box to have a lid.

Initially I thought it should be a rectangular box so I attempted several rectangular boxes but couldn't get the dimensions quite right. I also tried a little box with a window (seen at the top of the tower), which I really like, but I wanted more lid.

After quite a lot of trial and error, I settled on the standard origami Masu Box. I've seen a couple different ways to make a Masu Box. There's one method where you start by folding the paper into thirds. Then, there's another method (more common, probably) where you start by folding the paper in half diagonally like these simple instructions here. I used this version, since it was easier to tweak it and make a well-fitting lid. These are the final boxes that were the best sizes and had the best lids:


Only eleven posts on my blog this year, sheesh. As usual, I'll sign off 2023 by saying that I'll try to post more often in the new year!

Saturday, December 23, 2023

NSBAG Book Swap

A few weeks ago, the Nova Scotia Book Arts Group hosted its first book swap. Anyone in the group who wanted to participate just had to make a blank book, bring it to the meeting in November, and then they got someone else's handmade book to take home. I've been participating in various book swaps for years. Christine Cox, of Volcano Arts, used to host book swaps which were done online and through the mail and those were the first swaps I did. Later I found several other occassions to participate in swaps and exchanges for blank books, marbled paper, and artist's books. Many of these have been documented here on my blog over the years if you want to scroll back and find some of my old posts.

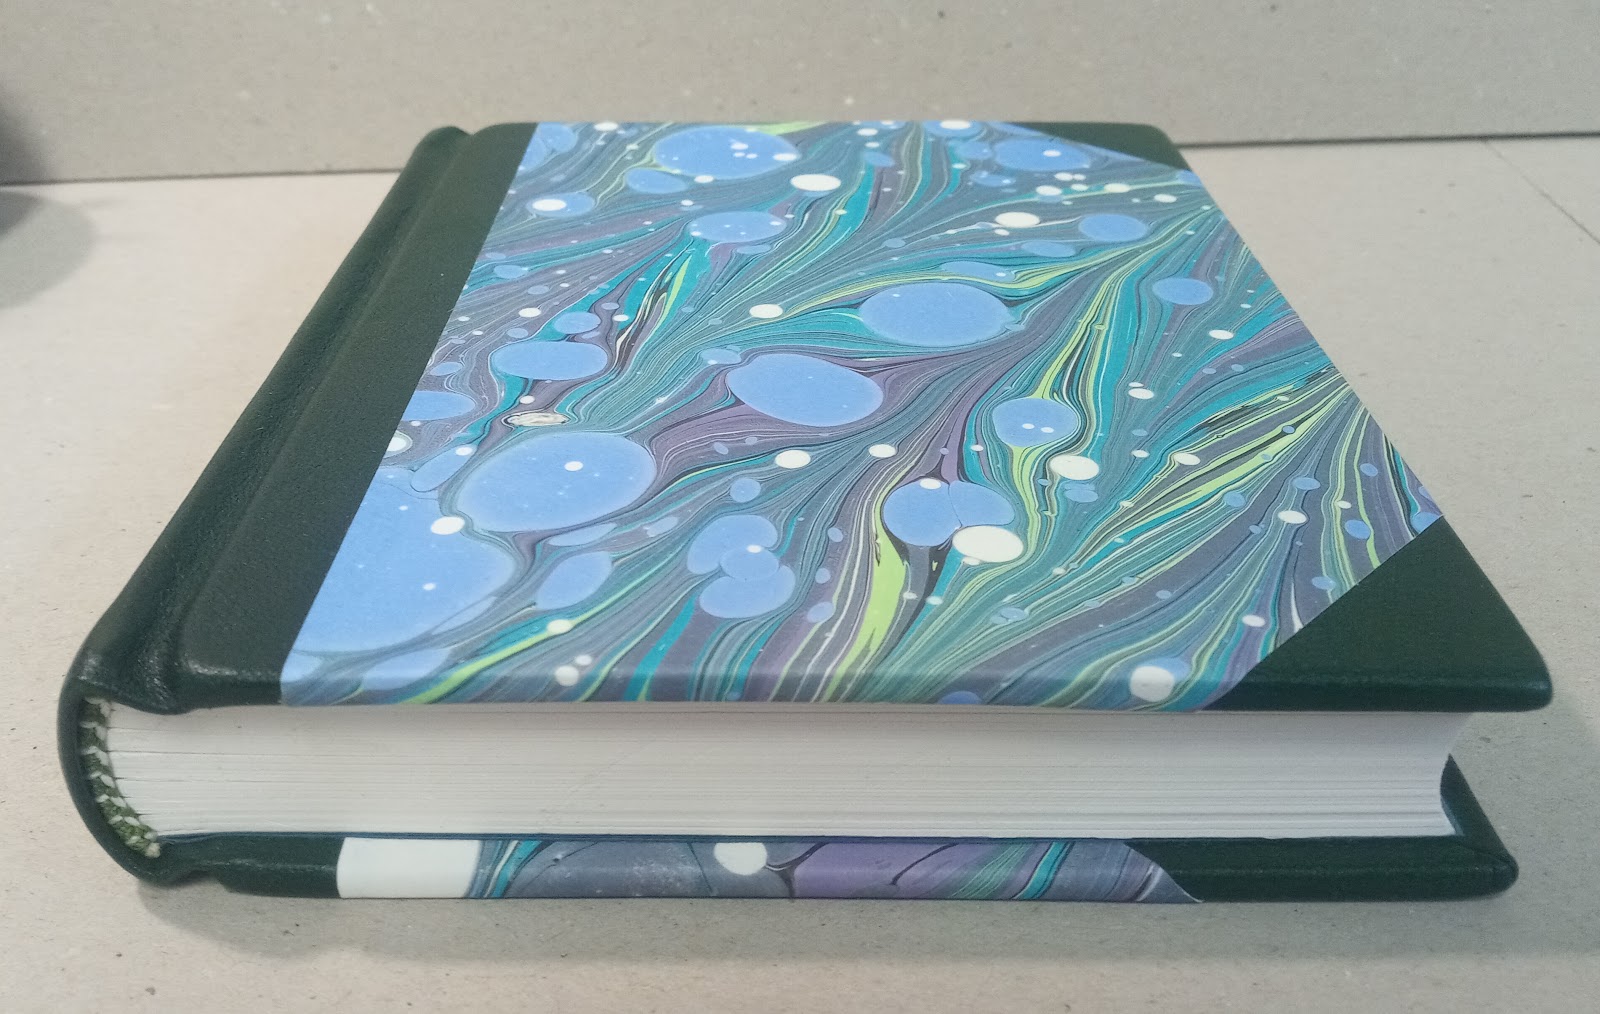
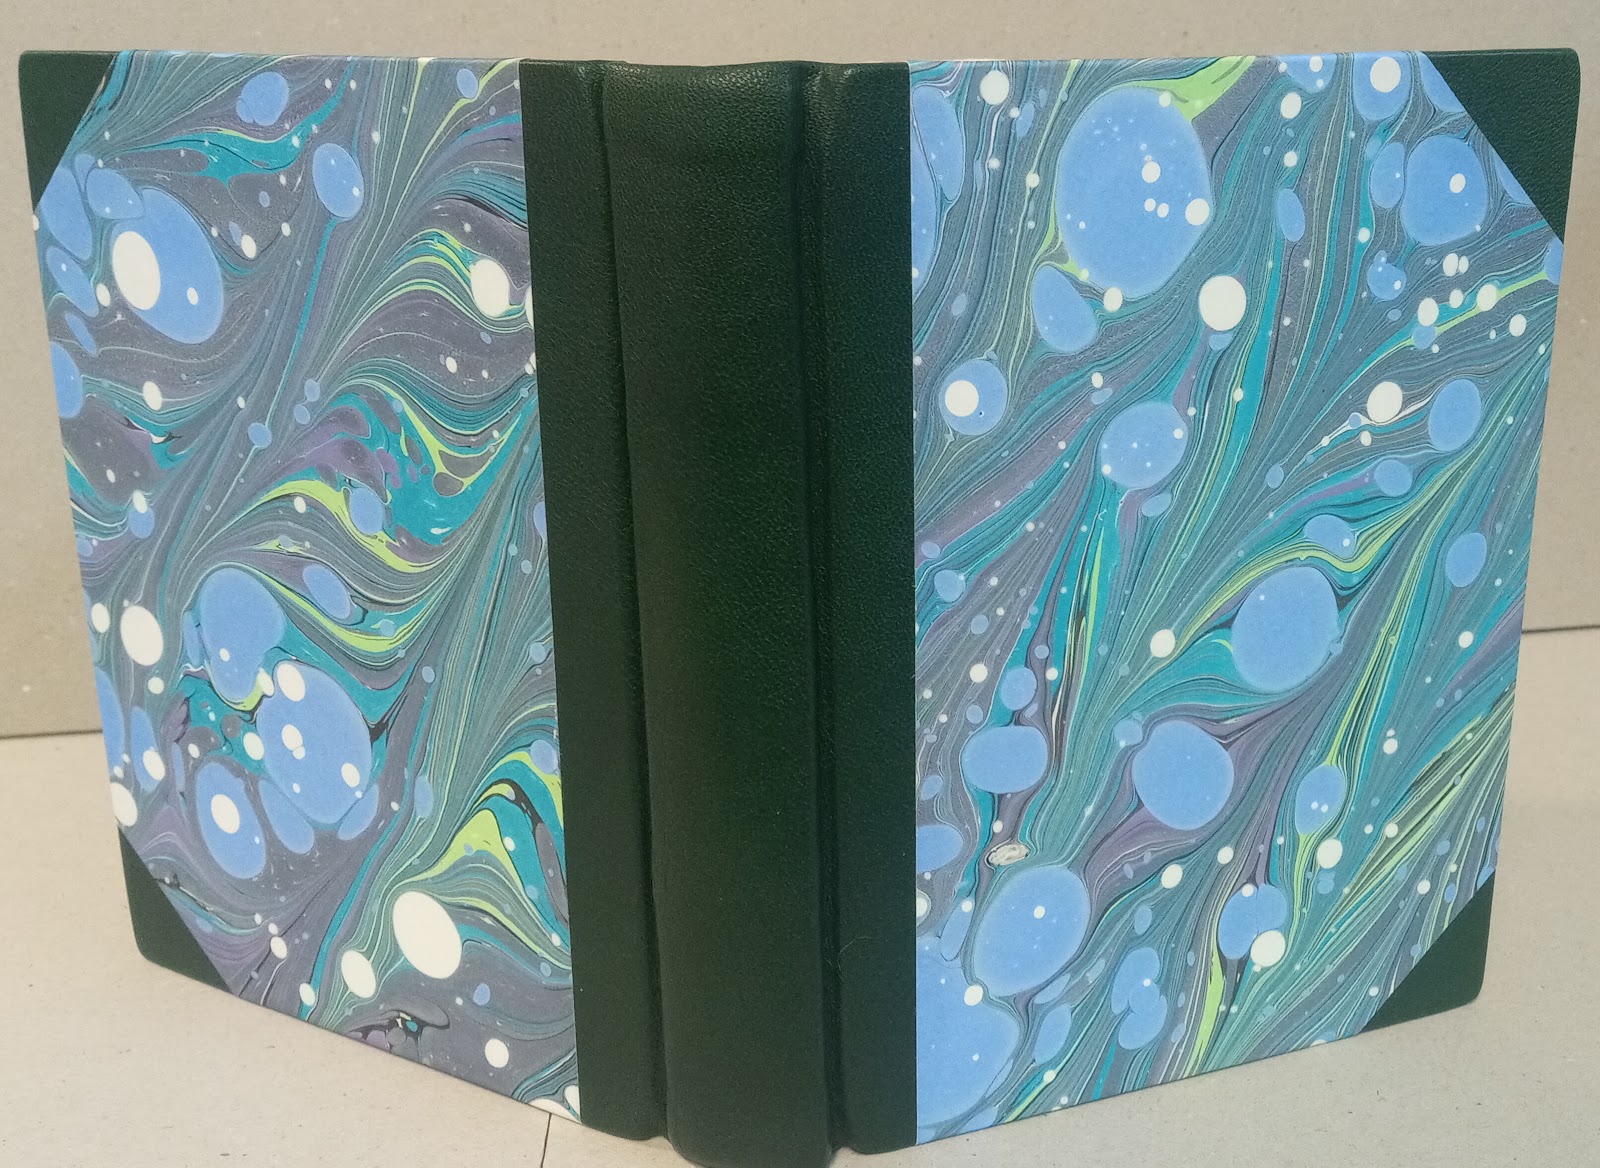
For the recent NSBAG swap, I made this half leather binding with my own marbled paper on the covers. The structure is a traditional library style binding constructed with split boards and sewn headbands.


There were 17 participants in the swap so there was an impressive range of bookbinding techniques and materials represented. You can see all of the books on the NSBAG blog.

Tuesday, October 17, 2023

Mind Your Ps and Qs

Mind Your Ps and Qs was a recent exhibit held at NSCAD's Port Loggia and Treaty Space galleries in Halifax, NS. This exhibit was a celebration of the Dawson Printshop and Bindery and all the amazing work that has been created by folks who have studied and worked there over its many years as a focal point of book arts education in this city.

Mind Your Ps and Qs
As a Dawson alumnus I was thrilled to have a couple of my own books included in the exhibit alongside the 15 other artists. The scope of work included traditional bookbinding, artist's books, letterpress printing, printmaking, and tool making. The photos above provide a glimpse of some of the other work in the show by (top L-R) Charles Salmon, Em Doucette, Joe Landry, Odyssean Press, (bottom L-R) Robin Wolfe, Katherine Victoria Taylor, Em Tremblay, and Nat:Shaw.

Congratulations to the Dawson Printshop and Bindery for its enduring influence on the local book arts community and to Odyssean Press and others who helped to make the exhibit a success. An extensive review of the exhibit has been posted on the Nova Scotia Book Arts Group blog.

Saturday, September 23, 2023

Sustainability Through Craft

I'm happy to be part of the annual member exhibit at the Centre for Craft Nova Scotia. This year's exhibit is called Sustainability Through Craft. The exhibit runs from September 22 to November 5, 2023 at the Mary E. Black Gallery in Halifax.


Sustainability Through Craft is a thought-provoking, participatory exhibition. Through various craft practices and mediums, 21 members of Craft Nova Scotia explore four pillars of sustainability: social, cultural, economic, and environmental. Participating artists include: Melanie Barnett, Kate Brown Salt Sky Studio, Wilma Butts, Elise Campbell, Hannah W Craig, Kristi Farrier, Jessie Fraser, I-Chun Jenkins, Bee van Kats, Steph Kincade, Karen LeBlanc, Mary Jane Lundy, Rhonda Miller, Nancy E. Oakley, Dorothée Rosen, Ralph Simpson, Jessie Tesolin, Jackie Toner, Tyshan Wright, Andrea Puzskar, & Josephine Clarke.


This exhibition is comprised of works of fine craft on display at the Mary E. Black Gallery and two community engagement projects, taking place at different locations during the 6-week exhibition. This combination will be a radical stimulus for the interconnectivity of community, craft, and sustainability. Full details available at craft-design.ns.ca.

Saturday, August 19, 2023

Tape Repairs

I see lots of books that have been previously given an unauthorized tape treatment, sigh. In fact, most of the time, tape will probably make the situation much worse than it would have been if it had been left alone. Also, although there are products out there called things like "book tape" and "repair tape" and even "archival book repair tape," none of them are actually good solutions.

Nonetheless, here are a couple before-and-after examples of books where I had to remove a lot of tape. It's tricky and tedious, but it can be done.


Saturday, July 15, 2023

Tricksy Folded Wrapper

This is a clever way to make a protective wrapper for a book. It is made from a single sheet of paper or folder stock. I saw this idea on outofbinding.com. She had received a package wrapped using this technique and posted photos of it on her website, calling it the turning triangle. I thought it looked like a great idea so I wanted to replicate it.

Here it is, fully open with the book in position.


A while ago, I posted the video on Instagram and several folks asked if there were instructions for making it, so I made this rough diagram to help you figure it out.

Disclaimer: This is just a sketch. The dimensions shown here are not set to fit any particular object. You should refer to the tips below to determine the actual measurements you need. Black lines are cuts and pink lines are folds.

Tricksy Folded Wrapper Diagram
You can click on the diagram to view a larger version.

Of course the dimensions are determined by the size of the book, or object, that you want to wrap. The dimensions are also affected by the thickness of the paper that you use for the wrapper. Thicker paper will create more obvious variations in the dimensions. I find the best approach is to have the book in place as you make each fold.
  • A, B, C, D, E, F
    Each of these are based on the Height and Width of the book but there will be some small variation to accommodate the thickness of the wrapper material. A, B, C are landscape oriented. D, E, F are portrait oriented.
  • G
    This piece can be used to create a flap. The height is the height of the book and the width would be determined by how much of a flap you want to have. The flap can either fold and tuck under (as in the video above) or fold it over and attach a string to wrap around. Also, it could be on the other side attached to D, depending on how you want to use it. Alternatively, it could be cut off entirely.
  • H, I
    Book Width X Book Thickness, with some variation to accommodate the thickness of the wrapper material.
  • J, K, L
    Book Height X Book Thickness, with some variation to accommodate the thickness of the wrapper material.
  • M, N
    These should be the same length.
  • The turning triangle
    From my experiments, it seems that the size of this triangle is negotiable. It can be small or large, doesn't matter. I think the key to success is ensuring that you have 90 degree angles at the two spots indicated on the diagram.
If you are familiar with other folded wrappers, this should be straight-forward. As with most things, practice is the key to making a perfect wrapper. Have fun!

Sunday, May 07, 2023

Fine Bindings by Douglas Cockerell

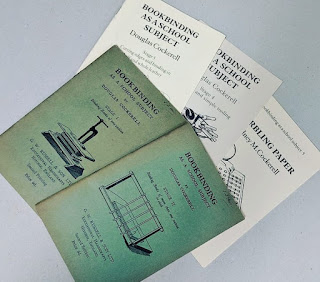
Recently I had an opportunity to see a collection of fine bindings made by Douglas Cockerell. Cockerell is well-known to students of bookbinding. Douglas Cockerell instruction bookletsHe is the author of the enduring instructional book, Bookbinding and the Care of Books, first published in 1901 and still used by many today. Also these small booklets, "Bookbinding as a School Subject" that he wrote. These are my own copies shown here. In this photo, books one and two are from the second printing; books three, four, and five are from the third printing.

Douglas Cockerell fine bindingsCockerell is especially known for his skills as a fine binder. The Killam Library at Dalhousie University here in Nova Scotia, has a collection of about a dozen books bound by Douglas Cockerell which I was able to see firsthand last week. There is a digital exhibit on the library's website with really great photos, better than any photos that I'd be able to take, so, have a look at the online exhibit at digitalexhibits.library.dal.ca/exhibits/show/cockerell/ which has multiple photos of each book as well as information about Cockerell's life.

Of course, Cockerell's bindery also developed a distinct style of marbled papers that have been used widely by binders around the world. Cockerell, and the others who worked with him, developed their own style and techniques for marbling that allowed them to produce high-quality marbled papers, replicating their patterns with ease, which is incredibly difficult to achieve with hand-marbled papers. There is a video available showing the Cockerell marbling process, where you can see how they manage to get consistent patterns every time: https://youtu.be/Vyga8VMWXKg. And here are a few pictures of the marbling on the books in the Dalhousie collection that I saw last week.


Sunday, April 23, 2023

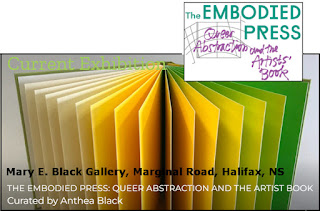
"The Embodied Press" exhibit, curated by Anthea Black

It is wonderful to see a local exhibit featuring book artists. The book arts are not often represented in local galleries, in my experience. Occasionally I'll see an exhibit that has a smattering of book art objects mixed in with other work, but as a general rule, the book art component is not central to the work or the exhibit.

Mary E Black GalleryHowever, the Mary E. Black Gallery in Halifax is currently exhibiting a collection of artists' books, curated by Anthea Black, who is a Canadian artist, writer, and curator. The exhibit features queer and transgender book artists and as stated on the gallery's website, "each work poses questions about difference, intersectionality and power to show that sexual, gender and racial difference cannot be easily understood or legitimized through public visibility alone." The individual works each convey important and striking messages about the issues in LGBTQ+ social history, juxtaposed with conventional and unconventional book forms.

The collection is wide-ranging in its use of binding structures, printing techniques, and its use of scale and content. There is a lot to see in this exhibit and it takes time to view because, as is often the case with books, book content can not be absorbed at a glance. The books themselves are very well executed. Using book structures in art sometimes appears to be an afterthought for conveying an artistic idea, but I thought many of the works in this exbibit were beautiful examples of structure and content working together effectively. There's a more in-depth look at the show posted on the NSBAG blog. Definitely check out the exhibit if you're in the area. The exhibit continues until May 7, 2023.

Thursday, March 30, 2023

Recent marbling session


I don't have a space to keep my marbling gear set up all the time, so when I do find the time to set everything up, I try to be very productive. It takes me a few days just to get everything prepped and organized but once everything is ready, it's nice to just go for it and get lots done. So I recently spent a few days marbling and I thought I'd share some of the results here.

First of all, here's a quick video of me lifting a sheet of marbled paper. This was a nice zebra pattern, in various shades of pink and orange and mauve, very spring. This kind of zebra pattern is one of my favorites to do.


I ended up with quite a stack of papers this time. Most of the papers are for my own use, so I can do whatever I want for most of them. I tend to practice certain things each time. In previous sessions I would spend a lot of time practicing the Spanish wave or the bouquet pattern, etc. This time I did quite a number of zebra patterns. But there were lots of others too. Here's a little sample:

Sunday, February 19, 2023

Vegetable Papyrus

A couple months ago, I attended a zoom presentation about making vegetable papyrus, with artist Yuka Petz. Yuka does a lot of cool stuff, which you can see on her website, www.yukapetz.com. We met at PBI one time, like, maybe a decade ago? Fun times. Gawd, seems like forever. Yuka is also now hosting a wonderful video series called 'Artist's Books Unshelved' which you can view on Youtube.

So, the vegetable papyrus demo was a great introduction to the process. Yuka provided a lot of incredibly useful information and tips on how to get started making this stuff and my first expiriments were quite successful, all things considered.

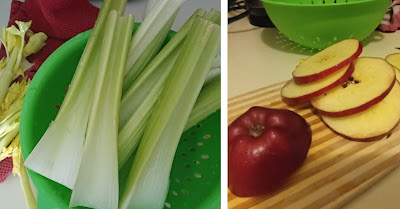
I started with celery and apples. I used celery because I thought the long stalks might result in something similar to Egyptian papyrus. I also tried the apples, mainly because I just had apples on hand!
Celery and Apples
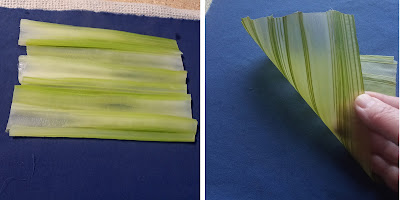
This next photo shows the cooked celery before it was pressed, and then the resulting papyrus after all the pressing and drying.
Cooked celery
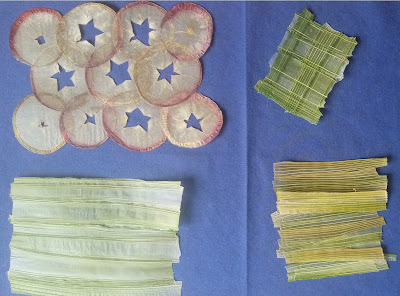
Drying time was surprisingly long. A couple weeks actually. Though, I'm sure that's largely due to the natural humidity living near the ocean and whatnot. So, these are the most successful pieces from my first round of papyrus making:
Finished papyrus sheets
I'm planning to raid the rhubarb patch in a couple months and try making papyrus with that!


Update:
Well, I tried using rhubarb and the results were disappointing. Rhubarb falls apart too quickly during cooking and it was very difficult to work with. I recommend that you stick with the veggies that will retain their shape during cooking.

Friday, January 13, 2023

Making bookbinding weights

Happy new year, blog readers! I was able to start off the new year with the Nova Scotia Book Arts Group, making some bookbinding weights. It was a fun little project to do as a group. Check out the NSBAG blog to see the results, as well as some guidance on making your own.

Here's what we made at the NSBAG meeting:
Smaller weights are very handy, particularly when making small books. I love having a variety of small weights on hand, so it's great to add to my collection. These get used all the time!


Thursday, December 22, 2022

Festive books!

I recently conducted a little workshop making these festive books, perfect for Christmas tree ornaments and whatnot.
The structure was a drum leaf binding and each book had printed pages, with a bit of holiday music. We used Japanese chiyogami on the covers because there are lots of beautiful Japanese papers that have Christmasy colours!
This was a fun session to wrap up the 2022 workshop season. Thanks and Happy Holidays to all the folks who take my workshops and keep coming back for more!

Friday, November 11, 2022

Sewn Board Binding Workshop

I don't have many opportunities to use the sewn board binding structure, so it was a lot of fun to teach this in a workshop recently. It allowed me to make a few examples, which was fun, and then introduce it to a very eager group of students. And as expected, everyone loves this book structure.

Look at all the beautiful books they made!

Thursday, November 03, 2022

Bookbinding around the world

I really enjoyed teaching the most recent version of my "Bookbinding Around the World" course. I have taught a few variations of this course, including some different book structures each time. The course is typically just four sessions so there are obvious limitations to what can be done in that time. In past versions of this course I have included projects such as the Nag Hammadi structure, the Secret Belgian Binding aka Criss Cross Binding, also the Ethiopian chain stitch, as well as various Japanese styles.

This time around we started in China, of course, since books and paper were invented in China. In the second class, we made palm leaf books, a structure that probably originated in India. Next we did one of the many Italian longstitch techniques, and then we jumped to USA and made some books in the style of the Roycrofters.